
How to Add and Apply Custom Fonts to Squarespace 7.1
Squarespace is a website building platform with an extensive collection of fonts that you’re able to use straight away. But if you have existing brand fonts or prefer something that isn’t on Squarespace, you’ll want to install a custom font. Luckily, this isn’t very difficult!
This post was created for Squarespace 7.0 (Brine family templates) and 7.1, and has different steps for each version. Find out which Squarespace version you have here.
Upload Your Custom Font
To upload your custom font to Squarespace, you’re first going to locate the font file. This file is usually the title of your font and ends with OTF, WOFF or TTF.
In your Squarespace menu, click Design > Custom CSS
Scroll down and find the button that says Manage Custom Files.
Click Add Images or Fonts, and select your font file from the window that pops up.
Copy and paste the following CSS into the Custom CSS area.
// Upload Custom Font //
@font-face {
  font-family: YOURFONT;
  src: url();
}
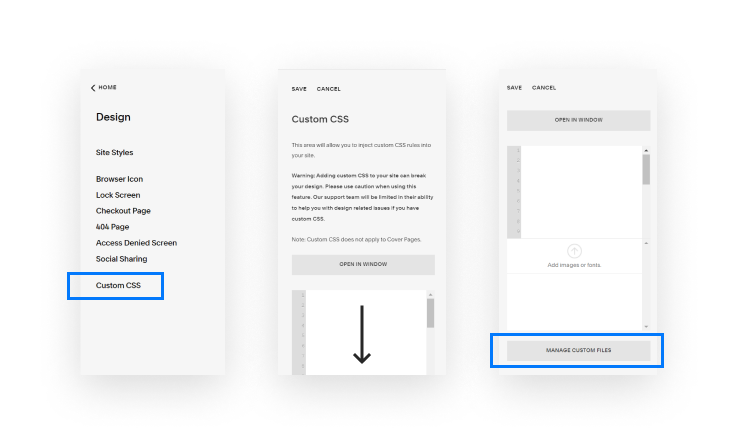
How to upload files to the CSS editor on Squarespace.
Where it says YOURFONT, replace it with the name of your custom font. You can choose any name for this, but make sure that you remember the spelling as you’ll need to repeat this later on.
The next step is to add the URL of your font right between the two brackets ().
Whenever you upload a file inside Squarespace, it generates a URL for that file. This is the link that you’ll need to place inside the brackets.
To insert this link, first click on the space between the brackets, and then select your uploaded font from the Manage Custom Files menu. The URL will automatically be added – and will look something like this:
// Upload Custom Font //
@font-face {
    font-family: DM Sans;
  src: url(https://static1.squarespace.com/static/5e6a13436c6599388885b79d/t/5ee0d6ea3688515b59f562c1/1591793386569/DMSans-Regular.ttf);
  }
}
You can upload font files ending in .WOFF or .OTF or .TTF to Squarespace. Make sure you’ve purchased the correct licence for your font! If you don’t have one you like, Creative Market is full of beautiful, affordable fonts.
Apply Your Custom Font
We’re almost done! All that’s left to do is choose which Headings or Paragraphs your font will apply to.
In Squarespace 7.0, there’s four different Headings/Paragraphs you can change to your custom font. These are:
Heading One h1
Heading Two h2
Heading Three h3
Paragraph p
In Squarespace 7.1, there’s seven different Headings/Paragraphs you can change to your custom font. These are:
Heading One h1
Heading Two h2
Heading Three h3
Heading Four h4
Paragraph One .sqsrte-large
Paragraph Two p
Paragraph Three .sqsrte-small
The sheer number of font choices is one of the many reasons why I recommend Squarespace 7.1 over 7.0!
Decide which Headings/Paragraphs you want to switch to your custom font, and copy and paste the appropriate CSS snippets.
h1 {
font-family: 'YOURFONT';
}

h2 {
font-family: 'YOURFONT';
}

h3 {
font-family: 'YOURFONT';
}

h4
font-family: 'YOURFONT';
}

.sqsrte-large {
font-family: 'YOURFONT';
}

p {
font-family: 'YOURFONT';
}

.sqsrte-small {
font-family: 'YOURFONT';
}
Replace YOURFONT with the name of your font – you entered this earlier in the first piece of CSS. It doesn’t matter what they’re called, but make sure they’re both spelled the same otherwise the CSS won’t work.
Styling Your Custom Fonts
When You Shouldn’t Add Extra CSS
You might be tempted to use CSS to style other parts of the font too (for example, size, weight, letter spacing), but I would recommend changing these in the Squarespace font settings rather than adding extra CSS. If there’s one rule of CSS, it’s to avoid using it if you don’t need to!
Related: A Beginners Guide to CSS in Squarespace
When You Should Add Extra CSS
That said, there are some cases where styling your font with CSS is unavoidable. In Squarespace, whatever styling you apply to one Heading must apply to them all. The same goes for Paragraphs. Even if you don’t use your own custom font, this can be limiting in terms of design.
For example, you could style Paragraph One so it displays in uppercase - but if you were to apply these settings in Squarespace normally, all of the paragraph text (so paragraph one, two and three) would display uppercase.
This is when using CSS becomes the best solution, because you can target ONLY Paragraph One and add uppercase styling.
Font size is the exception here. You can already do this individually with the normal Squarespace settings.
.sqsrte-large {
  text-transform: uppercase;
}
Apply Custom Fonts in Other Areas
If you have a custom font, it’s likely you will want to use it in other places besides the standard text boxes. For example, within your Site Header or the Quote Block. I’ve compiled a small list of CSS snippets so you can change the fonts of these items too.
How to Change the Site Header Fonts on Squarespace
The site header is the navigation bar at the top of your Squarespace website. Depending on your settings, you might have lots of links, a text logo and an announcement bar above all of this. You can change all these fonts to your custom font with the CSS snippets below.
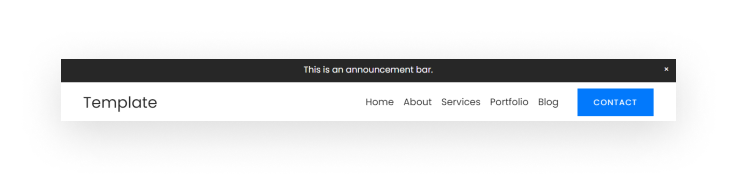
The default site header on Squarespace.
// Site Title //
.header-title-text a {
  font-family: YOURNAME !important;
}

// Site Navigation //
.header-nav-item a {
  font-family: YOURNAME !important;
}

// Button //
.header-actions-action .btn {
  font-family: YOURNAME !important;
}

// Announcement Bar //
.sqs-announcement-bar-url a {
  font-family: YOURNAME !important;
}
Replace YOURFONTFAMILY with the name of your chosen font.
How to Change the Button Fonts on Squarespace
The button block has three different types of buttons, so you can target each one separately and use different fonts for each if you wanted to. The button types are:
Primary button
Secondary button
Tertiary button
Squarespace used to use Small, Medium and Large button styles which were simply different sized versions of the same button style. They have since changed to the newer Primary, Secondary and Tertiary button styles and allowed individual styles for each.
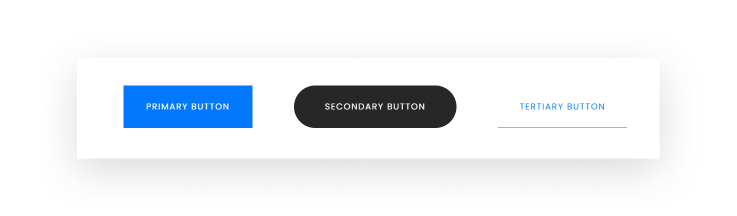
Comparison between the different button types on Squarespace.
// Primary Button //
.sqs-button-element--primary {
  font-family: YOURNAME !important;
}

// Secondary Button //
.sqs-button-element--secondary {
  font-family: YOURNAME !important;
}

// Tertiary Button //
.sqs-button-element--tertiary {
  font-family: YOURNAME !important;
}
Replace YOURFONTFAMILY with the name of your chosen font.
How to Change the Newsletter Block Fonts on Squarespace
The newsletter block allows people to sign up to your email list via Mailchimp or Squarespace Email Campaigns. I’m not a fan of either service and prefer using Flodesk, but the newsletter block is easy to set up when you’re first getting started.
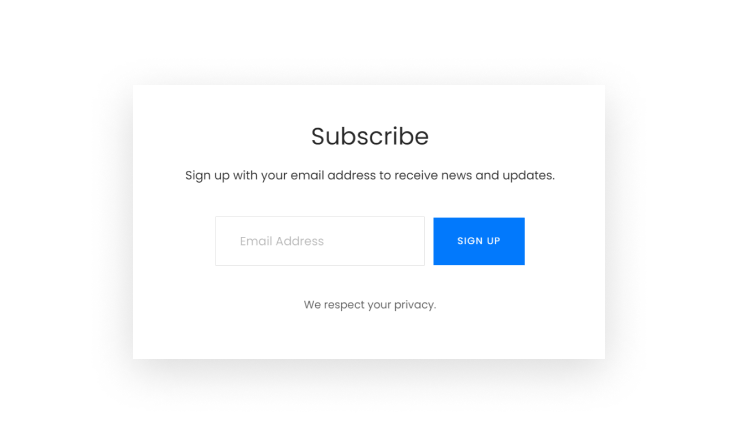
The default newsletter block on Squarespace.
// Newsletter Form Title //
.newsletter-form-header-title {
  font-family: YOURNAME !important;
}

// Newsletter Form Description //
.newsletter-form-header-description p {
  font-family: YOURNAME !important;
}

// Newsletter Form Fields //
.newsletter-form-field-element {
  font-family: YOURNAME !important;
}

// Newsletter Form Button //
.newsletter-form-button {
  font-family: YOURNAME !important;
}

// Newsletter Form Footnote //
.newsletter-form-footnote {
  font-family: YOURNAME !important;
}
Replace YOURFONTFAMILY with the name of your chosen font.
How to Change the Blog Page and Post Fonts on Squarespace
If you have a blog on Squarespace, there are multiple places where your custom font will need to be applied. This includes the blog page titles and descriptions and the post titles on the article pages themselves.
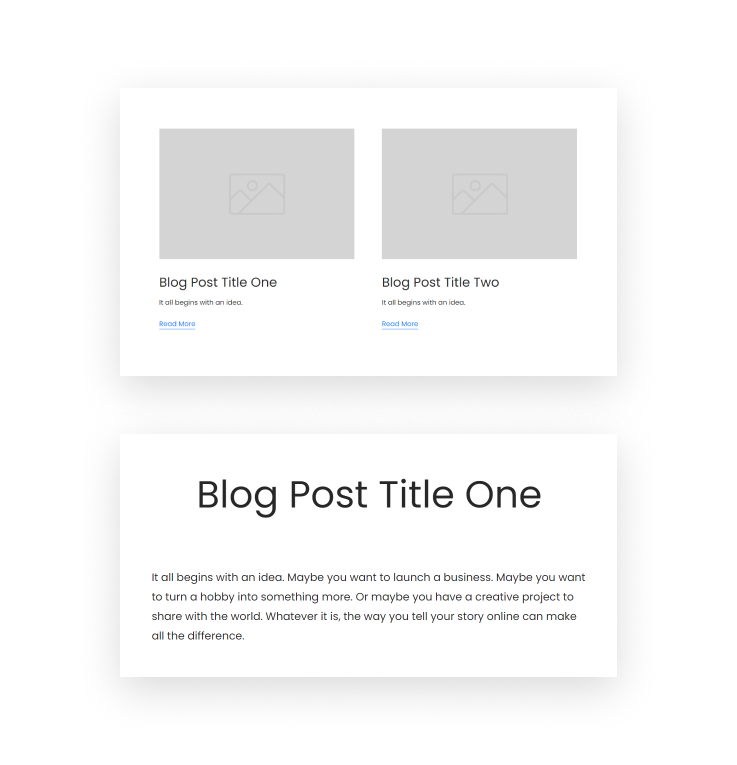
The default blog page and blog post appearance on Squarespace.
// Blog Page Titles //
.blog-title {
  font-family: YOURNAME !important;
}

// Blog Page Descriptions //
.blog-excerpt p {
  font-family: YOURNAME !important;
}

// Blog Page Read More Link //
.blog-more-link {
  font-family: YOURNAME !important;
}

// Blog Post Entry Title //
 .blog-item-title h1.entry-title {
  font-family: YOURNAME !important;
}
Replace YOURFONTFAMILY with the name of your chosen font.
How to Change the Quote Block Fonts on Squarespace
The quote block is a useful block which allows you to enlarge and highlight certain quotes or phrases from your website. This can be great for showcasing client testimonials, especially if you have a beautiful custom font that looks great at larger sizes.
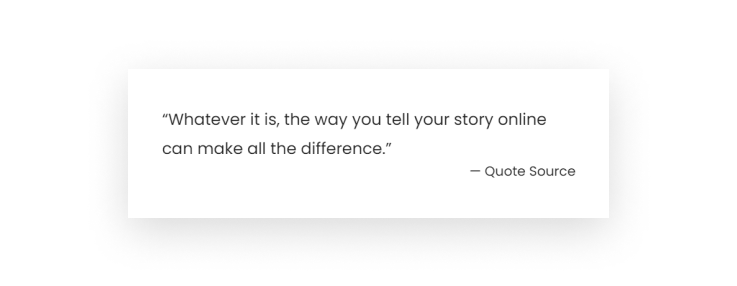
The default quote block on Squarespace.
// Quote Text //
.sqs-block-quote blockquote {
  font-family: YOURNAME !important;
}

// Quote Source //
.sqs-block-quote .source {
  font-family: YOURNAME !important;
}
Replace YOURFONTFAMILY with the name of your chosen font.