
How to Create a Custom 404 Page in Squarespace
If you're using the standard 404 page that Squarespace created, you're missing a trick. In case you didn't know, a 404 error page is the page that your visitors will be redirected to if they click on a broken link. These broken links can come from anywhere, and while you may think you don't have any, the chances are that as your website grows, you're much more likely to loose track of your links (especially if you use social media to share them).
Squarespace's default 404 page is a bland, uninspiring message that doesn't entice visitors at all.

Many people don't even realise you can change this, but fortunately you can create your own custom 404 page!
The aim of this is to engage with your users who may have landed on the page, and make sure they continue using your website. People have very short attention spans, so landing on this page will likely make them frustrated and head straight to the little "X".
Keep reading to learn how to avoid this and keep your sought-after visitors on your website, using a custom 404 page!
How to Setup Your Custom 404 Page
Creating your Squarespace 404 page is as easy as creating any other page on your website - just follow these steps:
Head into the backend of your website.
Go to Pages and click the Plus Icon next to Not Linked.
Choose Blank Page from the menu and begin adding blocks to the page.
When you're done, hit save.
Click the Cog Icon next to your page to go into the page settings. Under General, make sure you edit the URL and title of the page so that they are clear.


Once you've created your 404 page, follow these steps to replace your default 404 page with your newly created one:
Head into the backend of your website.
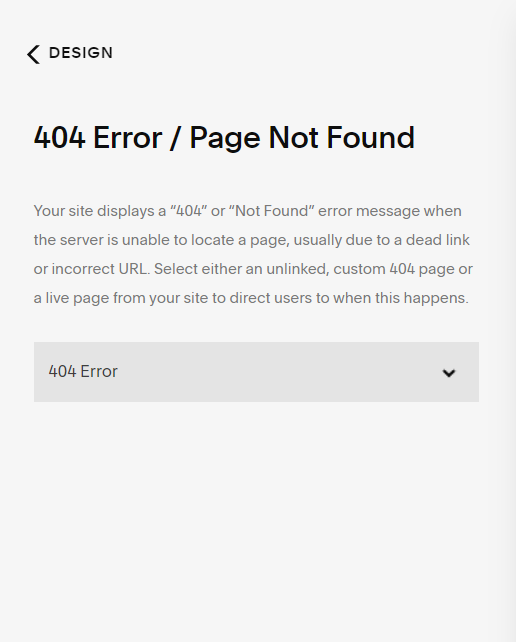
Go to Design > 404 Page.
Select the new page from the dropdown and hit save.

Things to Include on Your Custom 404 Page
Personalised Heading
Most 404 pages have dull headings like "This page was not found." Add a little personality to your website with a more personalised message. Here are some examples that your could use - adjust them to fit the tone of your brand:
"Oh hi there! Sorry, traveller. We couldn't find the page you were searching for."
"You've landed on the moon. Not much here. Fly somewhere else?"
"Uh oh. Rookie error - we can't find what you came here for."
If you're still struggling, why not take a look at this list of brilliant examples of 404 pages.
Navigational Options
These are probably the most important thing to put on your Squarespace 404 page. The whole idea is that you make it easier for your visitors to continue browsing! For example, if your visitors are likely to be accessing blog posts or articles, send them to your blog via one of these methods:
Use a summary block to display recent posts.
Add a button linking them to your blog.
Display a search bar so they can search the blog for something specific.
Related: 5 Unique Squarespace Summary Block Hacks
Contact Method
Some visitors may just want to get in contact with you immediately. It's always best to have this on your 404 page, because it makes it so simple to get in touch. If you're a service provider, this will be very important for you to have! Here are some contact options:
Add contact details via a text block, such as an email or phone number.
Add a contact form directly on the page.
Add a button that sends the visitor to the contact page.
These are just a few of the many options you have for this page - since they're as customisable as any other page, they options really are endless! Here's what the Wolf & Wild 404 page looks like.

But remember, every business has a different target audience. Add whatever you think will help engage your visitors and keep them on your website.